Exclusive IPD distributor for the Czech and Slovak RepublicsOriginal components · CAD/CAM libraries · technical support+420 604 483 343obchod@exklusiv-dent.cz
Accurate 3D model printing

IPD digital analogs. When the 3D model should seat as confidently as the CAD design.

From virtual position to physical modelIPD Solutions Map · clinic ↔ laboratory

A digital analog transfers the position of the implant, abutment or Multi-Unit platform into a physical 3D model. It is more than a metal replica in resin: the correct analog, matching CAD library, calibrated offset and Validation Master check together provide a reliable basis for accurate seating, angulation, contacts and occlusion.

Dual fixation 3D model Validation Master Library offset ModelPro
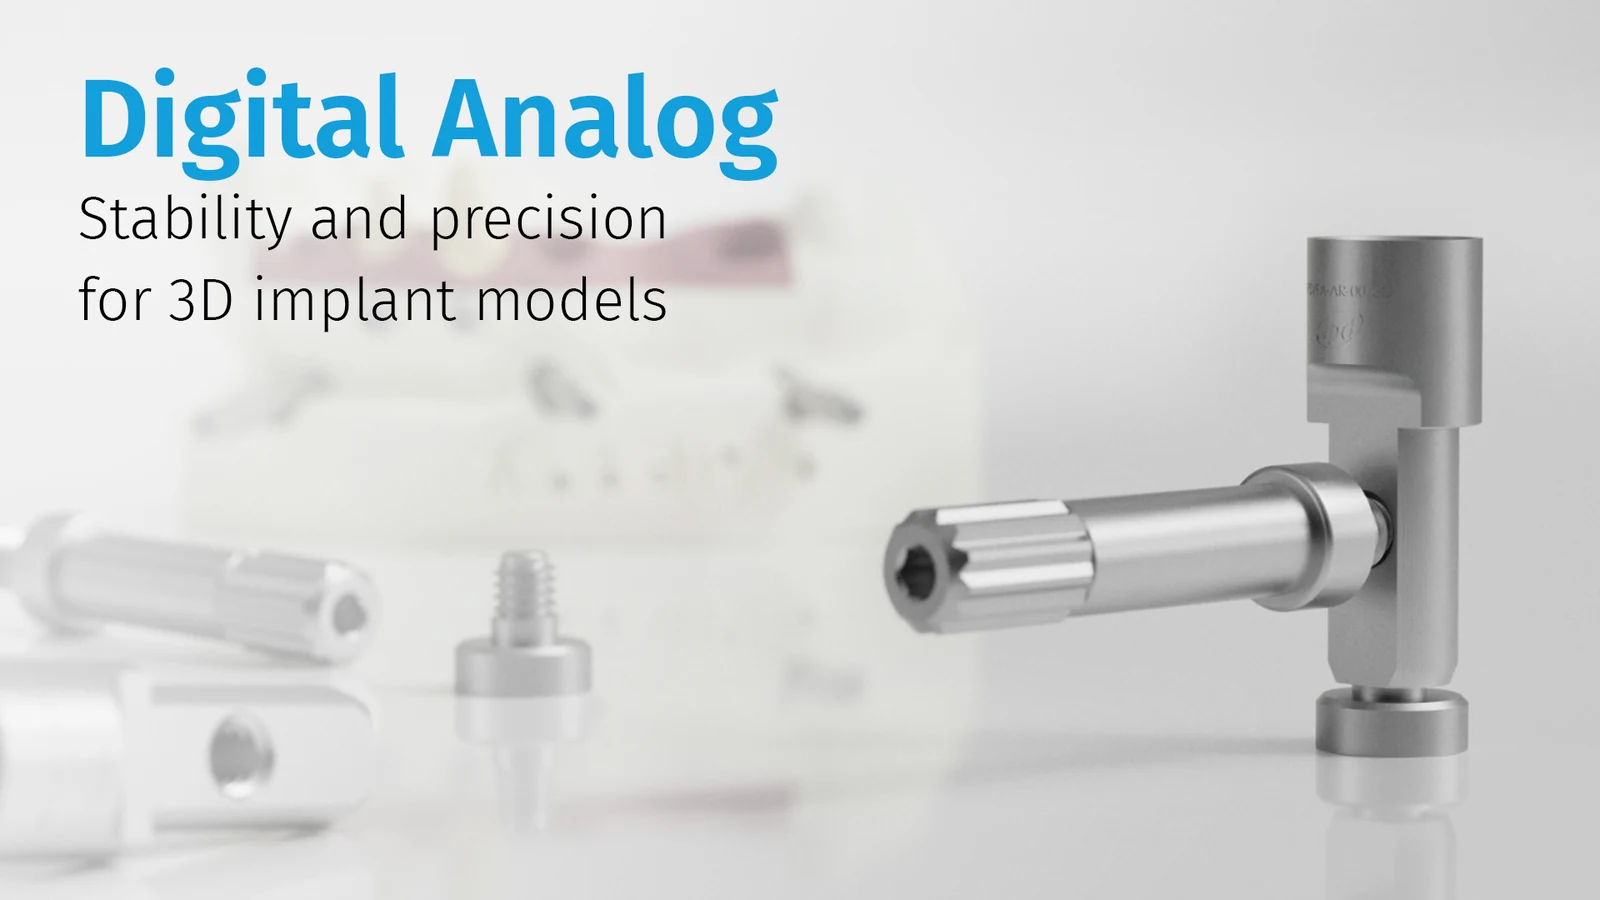
IPD digital analog: stability and accuracy for 3D implant models
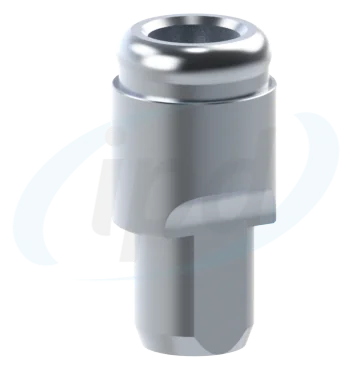
1 Digital analog
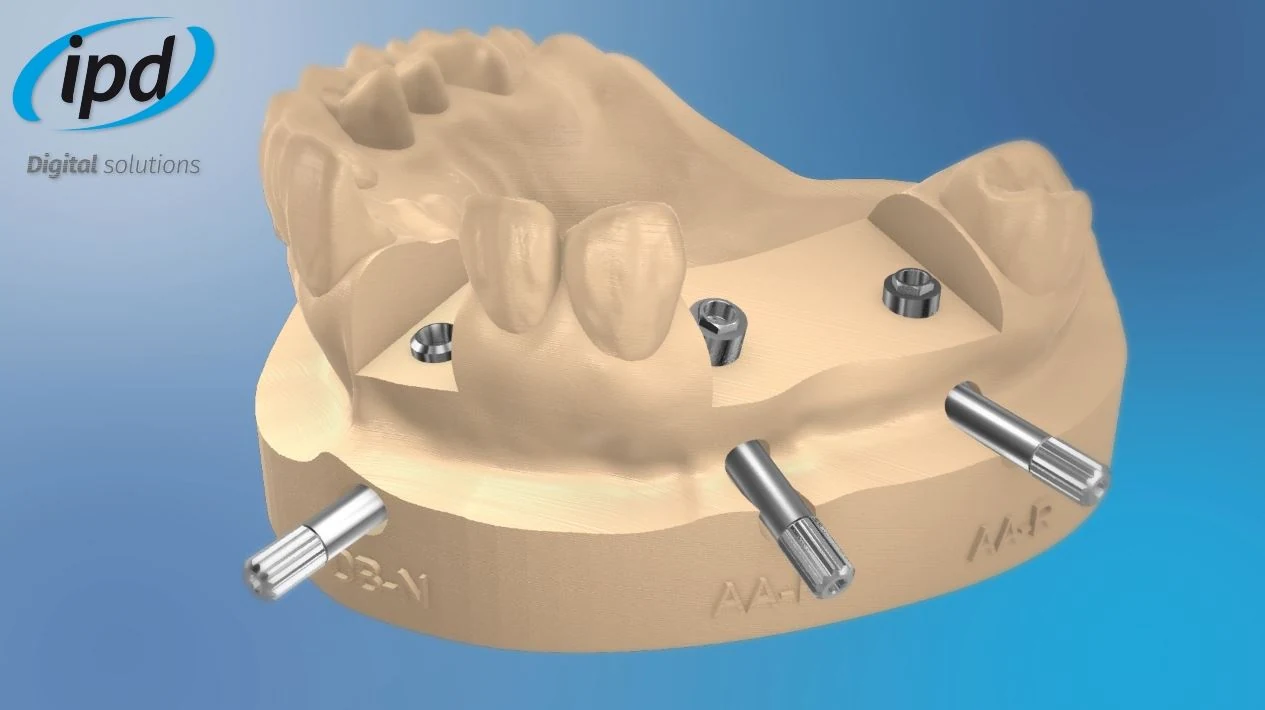
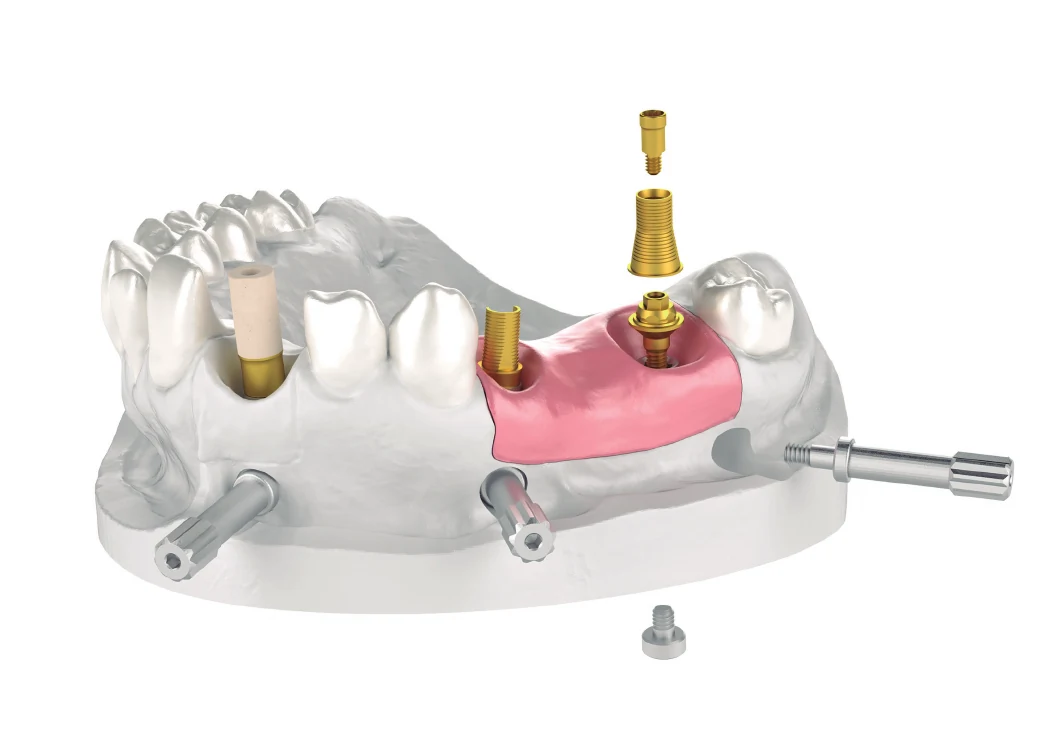
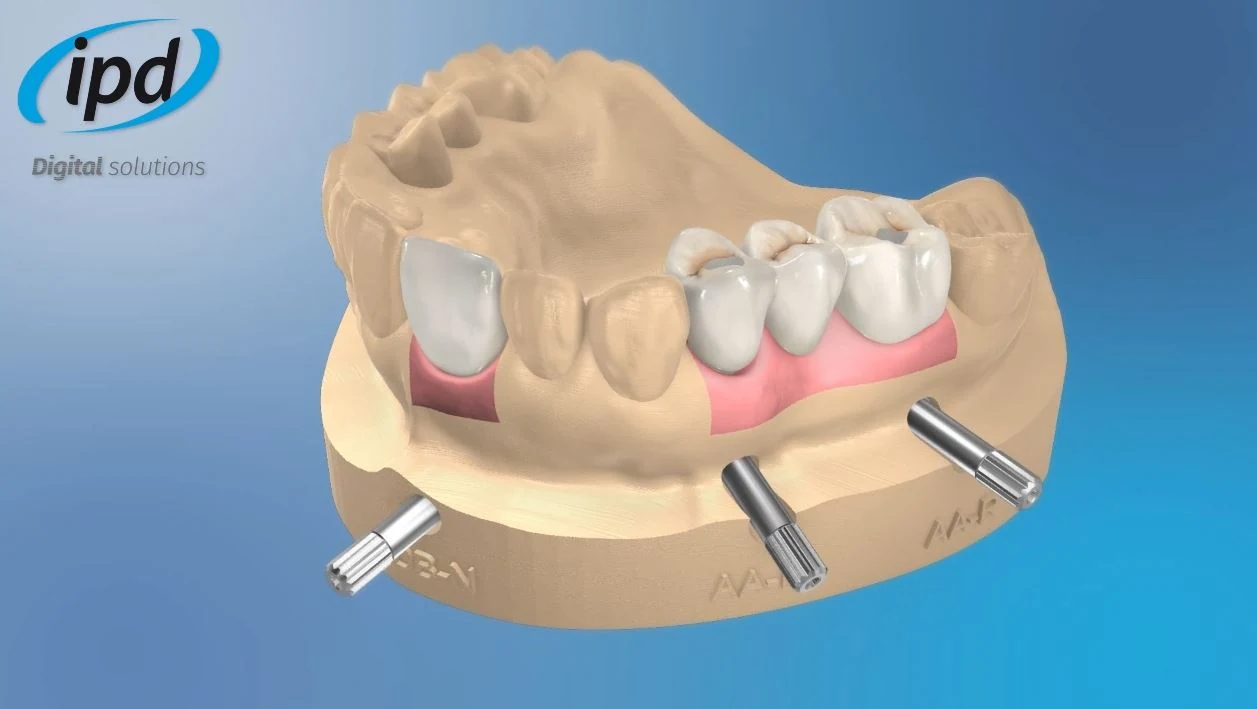
3D-printed model with IPD digital analogs
2 3D model
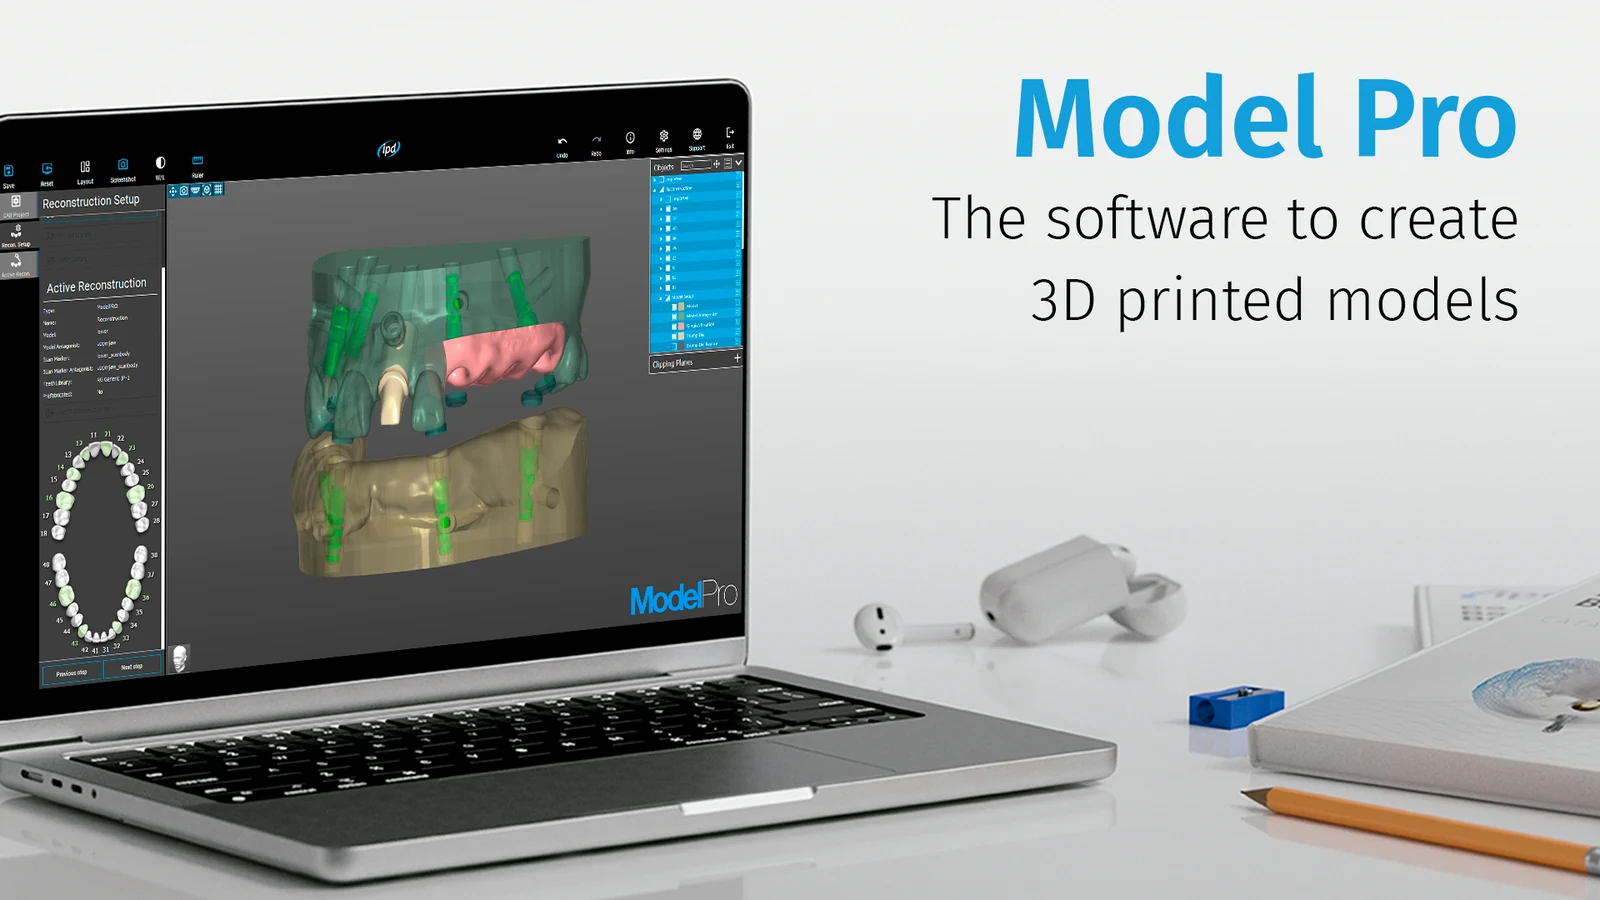
IPD ModelPro software for creating 3D-printed dental models
3 ModelPro

From STL data to physical verification

The digital analog is an anchor point of the 3D model, not a minor accessory in the box

In a digital workflow, the design originates from scanner data and the CAD library. If the laboratory needs a physical model, however, the implant position must be transferred into resin so that the restoration, interproximal contacts, seating, height and occlusion can be verified. That is the role of an implant analog in a 3D-printed model.

2×fixation screw for stable retention of the analog in the printed model
±5 µmtight tolerances specified for analogs in IPD product documentation
STLValidation Master for verifying the resolution and behaviour of a specific printer
CADoffset libraries with parameters optimised for the selected workflow
IPD digital analog as a laboratory component
01 · Connection replica

The analog simulates the implant

Within the model it reproduces the internal geometry of the implant or prosthetic platform. The laboratory therefore works with a verifiable interface rather than an empty cavity in the print.

3D implant model with an IPD digital analog
02 · Physical model

Verification before final completion

A 3D model allows seating, fixation-screw access, contact points and articulating relationships to be checked before the restoration is definitively completed.

IPD ModelPro – software for 3D models
03 · ModelPro

The model as part of the CAD workflow

ModelPro helps turn digital data into a printable model with analogs, dies, artificial gingiva and verification features for laboratory work.

Six steps to an accurate model

The key is for the scan, library, analog and printer to follow the same geometric score

A digital model does not become accurate by itself. It needs a correctly captured position, the corresponding library, calibrated printing and an analog seated without play or excessive force. If one link drifts out of tune, the CAD orchestra starts playing the wrong notes.

1ScanningThe implant position is transferred into STL data via a scan body or Scan Transfer.
2CAD libraryThe implant library defines the platform, seating geometry and analog branch.
3ModelProThe model is prepared for printing, including dies, gingiva, analogs and verification features.
4OffsetCalibration identifies the tolerance at which the analog seats securely without deforming the resin.
53D printingThe model is printed with analog receptacles and geometry corresponding to the selected library.
6ValidationThe analog is fixed and the model is used to verify seating, bite registration, articulation and contacts.
Practical principle: the digital analog is generally not selected in CAD software as an arbitrary stand-alone component. It follows the implant library, platform and specific analog tolerance. This is why the correct IPD library branch must be used during installation and library selection.
Stability in the model

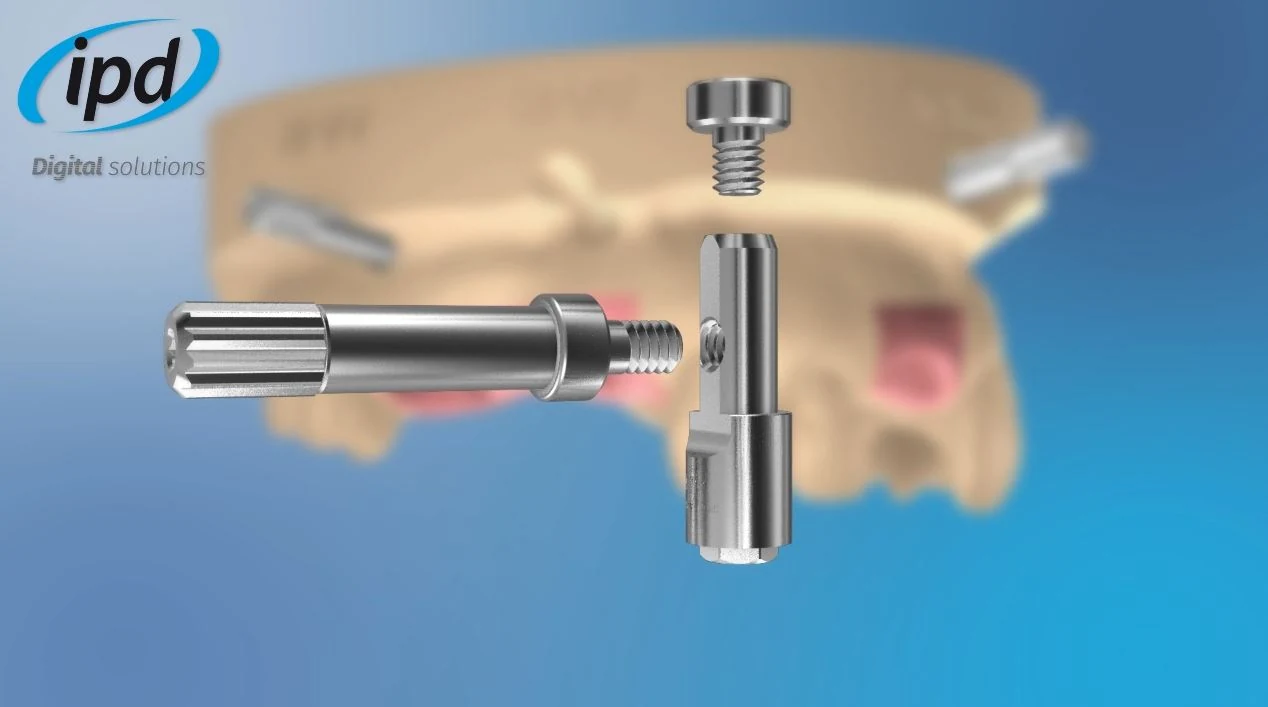
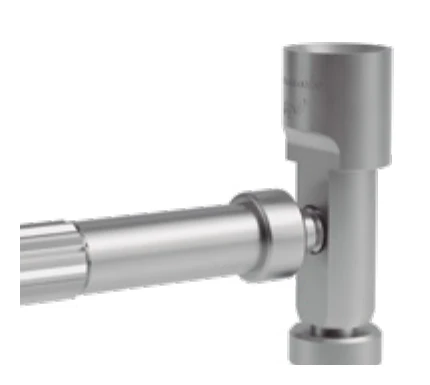
Dual fixation: the axial screw controls the main axis while the lateral screw prevents unwanted movement

IPD digital analogs use a two-screw fixation design. The analog is therefore not merely inserted into the printed-model cavity; it is mechanically anchored in two directions. This provides a more stable position during restoration try-in, articulator work and routine laboratory handling.

Axial fixationHelps seat the analog along the main axis of the prepared model cavity and stabilise the connection position.
Lateral fixationThe lateral screw limits movement and also allows use of the articulator without losing the bite registration.
Clear identificationIPD documentation mentions laser marking to make identification and work across different platforms easier.
Conventional and digital workflowsThe analog principle remains familiar, while the digital variant transfers it into the printed model and CAD/CAM process.
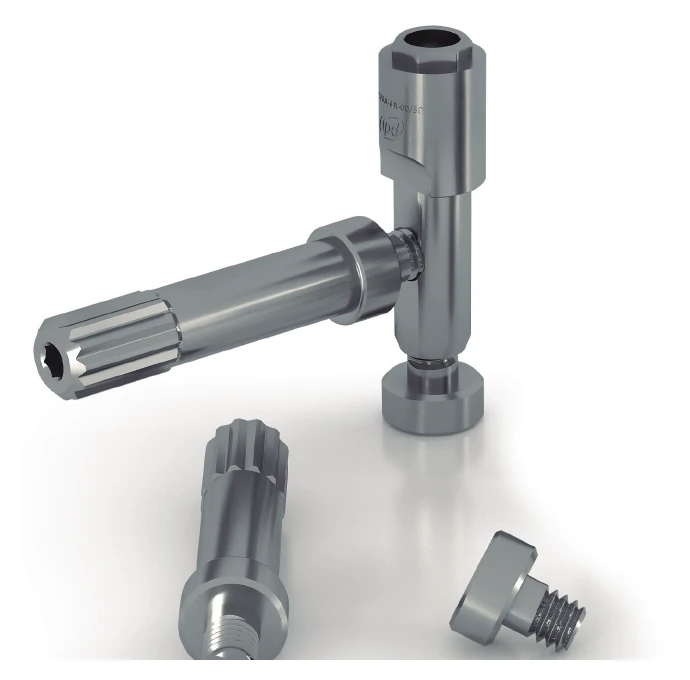
IPD digital analogs with two fixation screws
An accurate model is not only about the shape of the cavity in the resin. The analog must preserve orientation, height and its relationship to the bite registration.
Validation Master and offset

Library calibration: a small test block that can save a large restoration

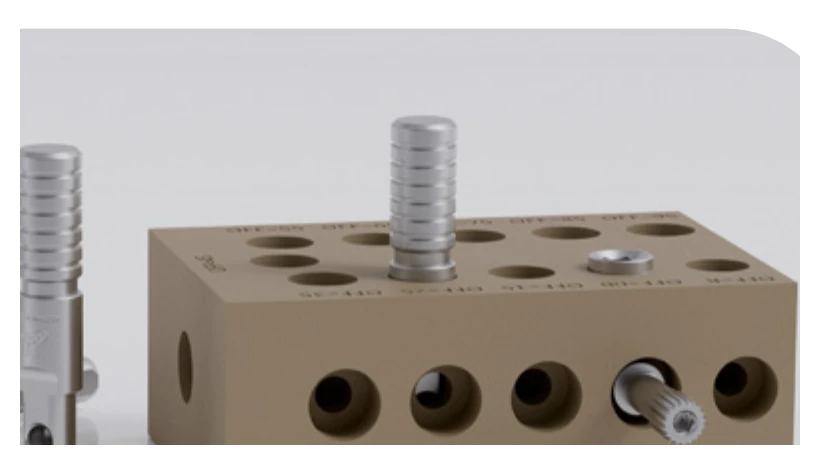
Every 3D printer, resin, exposure setting and post-processing workflow can create a slightly different physical result. IPD therefore uses the Validation Master concept: a reference STL file and test analog that allow the laboratory to determine which offset best matches its actual printing chain.

IPD Validation Master for 3D-print calibration and library offsets
Offset is not a magic number. It is an agreement between the CAD library, printer, resin and the real analog.

1. Print the calibration master

First print a test specimen with cavities prepared at different tolerances. It is not a decorative sample for a drawer, but a measuring bridge between the library and the specific printer.

2. Test the analog without forcing it

The correct cavity is the one in which the analog seats stably, clearly and without deformation. A cavity that is too tight can introduce stress; one that is too loose defeats the purpose of verification.

3. Use the corresponding offset library

Based on the result, select or request the library with the appropriate offset code. The CAD model then creates the analog cavity using parameters that reflect the laboratory's actual printed output.

IPD ModelPro

ModelPro: software for 3D models, dies, artificial gingiva and implant workflows

ModelPro is IPD's digital tool for creating dental 3D models. Its purpose is not to replace the dental technician, but to remove repetitive manual steps, unstable dies and improvised processes where repeatability is required.

Model functions

  • 3D model and mesh editing
  • automatic import of curves from CAD systems
  • removable dies and Stump Die 3D
  • False Gingiva and 3D articulator

Implant workflow functions

  • Scan Abutment alignment
  • Scan Abutment Replace
  • 3D analog in the model
  • integration with the IPD library workflow
Why this matters: a removable die must maintain its position, resist rotation and preserve contact points relative to adjacent teeth. Implant models add another requirement: accurate seating of the analog and verification of the prosthetic interface.
IPD ModelPro: software for creating 3D-printed dental models
ModelPro brings the model, analog, gingiva, dies and articulator together in one workspace.

CAD libraries and compatibility

The analog library must belong to the same system as the implant, scan body and design

Guesswork is a poor strategy with digital analogs. The implant system, platform, scan-body type, model type, CAD software and calibration-derived offset all matter. The correct library is the quiet librarian of the workflow: file the geometry on the wrong shelf and the model starts telling a different story.

AreaWhat to verifyWhy it matters
Implant systemBrand, platform, diameter and whether the workflow is implant-level, abutment-level or Multi-Unit level.The analog must reproduce the same interface used by the CAD library and prosthetic design.
Scanbody / Scan TransferThe type of scanning component, its library and the method used to capture the position.CAD alignment from one component must not be mixed with an analog branch intended for another system.
CAD softwareIntegration with Exocad, 3Shape, Dental Wings or ModelPro.Each software platform has its own library structure, export process and approach to analog tolerance.
3D printer and resinTechnology, resolution, resin, exposure, post-curing and model orientation.Even an accurate design can fail if the analog cavity prints differently from what the library assumes.
OffsetCalibration result obtained using the Validation Master or a test block.The offset helps adapt the analog cavity to the actual behaviour of the printing workflow.
TECH and LITE libraries: in IPD implant prosthodontics, the correct library branch matters. IPD documentation describes CAD libraries as a tool for standardisation, reducing errors, managing updates and maintaining continuity with scanning and analog tolerances.
When a model adds the most value

Crown, bridge or full arch: the model is useful whenever you want to verify physical risk

A digital workflow can be completely model-free, but a physical model remains useful in many cases. In implant prosthodontics it can reveal factors that rotating an STL file on a monitor may not: mechanical seating, the relationship to the gingiva, contact points, screw access or articulation.

Fixed restorations

For crowns and bridges, the model helps verify contacts, seating and space for the screw channel or cement-retained restoration.

Full arch and Multi-Unit

For extensive restorations, the analog supports verification of passivity, angulation and the relationship among multiple supporting units.

3D model with a prosthetic bridge and IPD digital analogs
A verification model is a physical map. It shows whether the digital path truly arrives at the same destination.

Workflow visualisation

Digital analog in the model: when a virtual position becomes a physical verification point

A short video and supporting visuals quickly show why stable analog fixation, lateral access through the model and continuity with the prosthetic restoration matter in a 3D model.

IPD digital analog

A brief look at the model, analog and screw-fixation principle within the digital workflow.

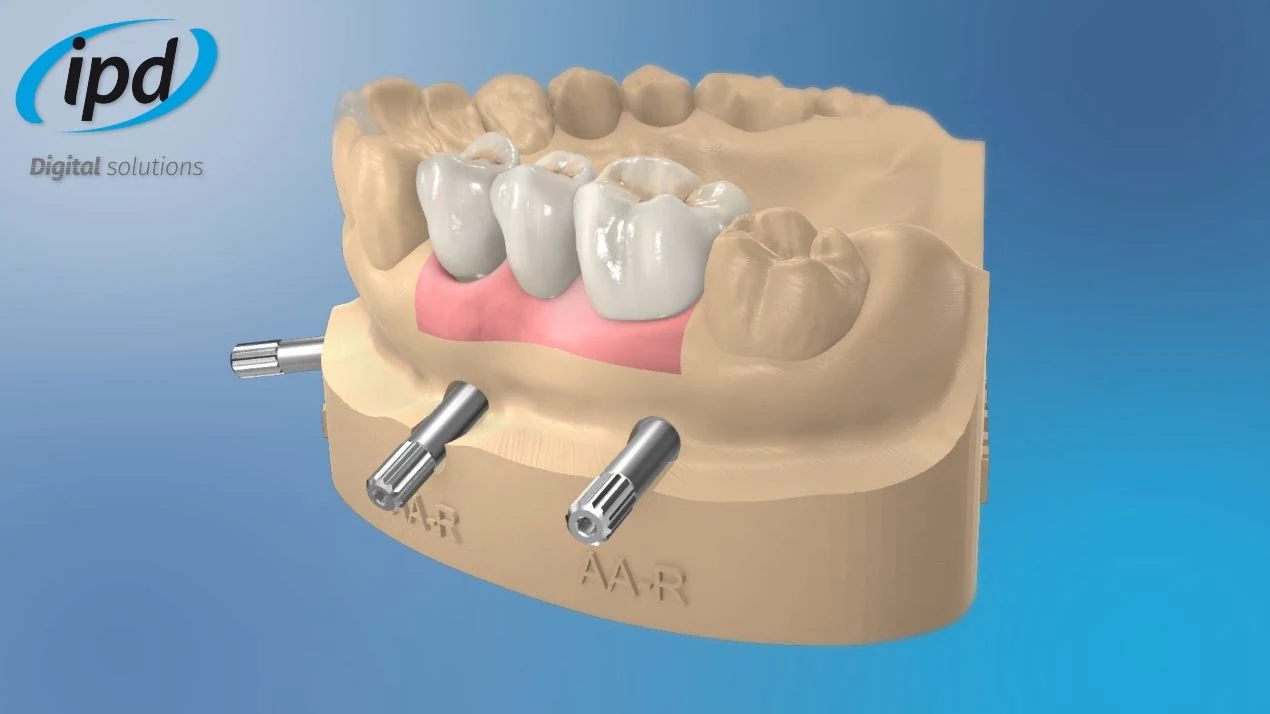
3D model with crowns and IPD digital analogs

Model with restoration

A physical model helps verify seating, contacts and access to the screw channel.

IPD digital analog as a precision-machined laboratory component

Stable component

The analog transfers connection geometry into the model and must maintain its position without play or internal stress.

Technical support checklist

What to send when you need the correct library or want to verify a digital analog

The more precise the information you provide, the faster the correct pathway can be identified. We do not ask these questions to create paperwork. We ask them so that a silent millimetre with a very large ego does not creep into the model.

Implant and platformBrand, system, diameter/platform and whether the workflow is implant-level or MUA-level.
CAD softwareExocad, 3Shape, Dental Wings, ModelPro or another software platform and its version.
Scanning componentScan body, Scan Transfer, LITE/TECH library or, where applicable, an OEM scan body.
3D printingPrinter type, resin, settings, model orientation and whether Validation Master calibration has already been performed.
OffsetMeasured/verified offset code, for example from a test block or calibration master.
Restoration typeCrown, bridge, full arch, Multi-Unit solution, removable dies or a model with artificial gingiva.

Common questions

IPD digital analogs in practice

Quick answers for laboratories that want an accurate 3D model without the ceremonial dance around an inaccurate analog cavity.

Is a digital analog necessary for every implant restoration?

Not always. If the workflow is genuinely model-free and all checks are performed digitally, a physical model may not be necessary. But when you want to verify seating, contacts, occlusion, gingiva or full-arch passivity physically, the digital analog gives the model clinically meaningful reference geometry.

Why not simply print a hole and push the analog into it?

The printed cavity can have a different dimension from the CAD assumption. Dual fixation and offset calibration help reduce play, rotation and stress within the resin.

How do I determine the correct offset?

Use the Validation Master or a test block. The analog should seat stably but without force. The result is used to select the appropriate analog library or offset setting.

Is ModelPro mandatory?

It is not the only possible route, but IPD recommends and develops ModelPro for 3D models as part of its digital workflow. It can prepare models, dies, 3D analogs, artificial gingiva and other verification features within one environment.

What if I use different CAD software?

IPD digital analogs also integrate with libraries for common CAD systems. The key is to match the implant, platform, scan body, library, analog and offset correctly.

Send us the implant system, software and 3D-printing information

We can help verify the relationship between the digital analog, library, offset and ModelPro workflow. The more precise the information we receive, the less room remains for resin gremlins and their tiny geometric jokes.

e-dent logo

I am a dental professional within the meaning of Section 2a of Act No. 40/1995 Coll. on the Regulation of Advertising. I confirm that I am authorised to access pages intended for dental professionals.